Bookings
How to use Bookings in BookMe
Managing bookings in BookMe
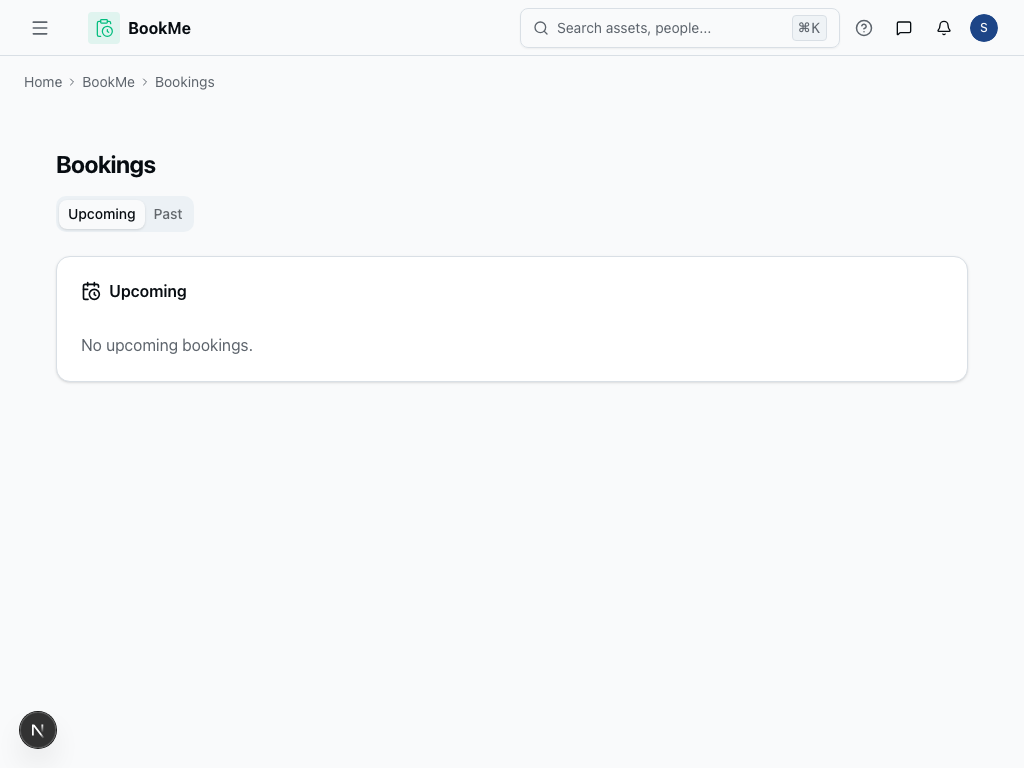
The bookings page is your ledger of every meeting scheduled through BookMe. From here you can see who booked what, check whether a session is upcoming, ongoing, or finished, and mark attendance for past sessions. It's the fastest way to keep track of your calendars' activity without digging into each one individually.
Step-by-step instructions
- Open BookMe and go to Bookings in the navigation.
- Use the tabs to switch between upcoming and past bookings.
- Narrow the list by folder, calendar, or team if you manage several schedules.
- Click an individual booking row to open its details, including the attendee's information, the location or call link, and any notes they submitted. Use the previous and next buttons, Left/Right arrow keys, or Vim keys (
h/kfor previous andl/jfor next) to move between bookings without closing the details window. - Group sessions appear once per time slot with an "N of M booked" capacity badge. Expand the session to see its attendees, or select Details to manage the whole session.
- After a session ends, use the past row's menu (the vertical dots) to mark an eligible booking as a no-show. Group-session attendees can also be marked as attended there.
- To cancel one booking, open its details and choose Cancel booking. To cancel a whole group occurrence, open the session details and choose Cancel session.
- Paginate through older bookings using the controls at the bottom of the table.
Each booking has its own stable workspace URL. Opening a BookMe notification or the View booking button in a host email takes you directly to that booking's details. The link still follows your current workspace and calendar permissions, so recipients who cannot view the calendar cannot open the booking.
In practice
Priya, an IT onboarding coordinator, runs security-training sessions for every new hire cohort. After each week's sessions wrap up, she opens the past tab in bookings, filters to her "New Hire Setup" calendar, and marks each attendee as attended or no-show. This keeps her compliance records accurate without needing a separate spreadsheet.
Dan, an IT helpdesk lead, lets staff self-book support slots throughout the day. Between calls, he checks the upcoming tab to see who's booked next and reviews their notes in the booking details modal so he's prepared before the session starts, rather than finding out the issue cold.
Tips
- Mark no-shows promptly — the option disappears once the thank-you email window closes, so don't wait too long after a session ends.
- Use folder, calendar, and team filters if you run several types of sessions; they keep the ledger readable instead of one long undifferentiated list.
- For group sessions, check the capacity badge before the session starts so you know whether to expect a full room or just a couple of attendees.
Was this page helpful?